

Prepping the Wood Furniture Paint
Proper preparation is key to achieving a professional-looking finish. This involves cleaning, sanding, and repairing the furniture to ensure the paint adheres properly and looks smooth.
Cleaning the Surface
Start by thoroughly cleaning the furniture to remove dirt, grime, and oils. Wipe down the surface with a damp cloth and use a mild detergent solution for stubborn dirt. Allow the piece to dry completely before proceeding.
Sanding Techniques
Sanding creates a smooth surface for paint adhesion:
Remove any loose or peeling finish with a paint scraper.
Use an electric random orbital sander with 180-grit sandpaper to scuff the entire surface lightly.
Sand by hand in areas the electric sander can’t reach.
Vacuum all dust with a shop vac and brush attachment.
Wipe down the surface with a tack cloth to remove any remaining dust.
Repairing Damage
Address any imperfections before painting. Fill cracks or holes with wood filler and allow to dry completely. Sand the repaired areas smooth and clean away any dust.
Priming for Spray furniture paint
Priming is a crucial step in the spray painting process. It helps the paint adhere better and provides a uniform base for your color coat.
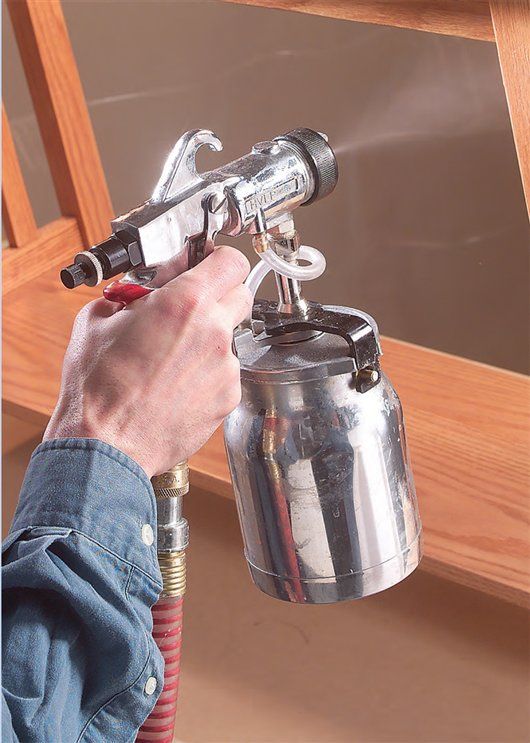
Spray Furniture Paint Techniques
Mastering proper spray painting techniques will help you achieve a smooth, professional-looking finish on your wood furniture.
Proper Spraying Distance
Maintain a consistent distance of 6-8 inches between the spray nozzle and the furniture surface. This distance allows for optimal paint atomization and coverage. Moving too close can lead to drips and runs, while spraying from too far away can result in a textured or uneven finish.
Achieving Even Coverage